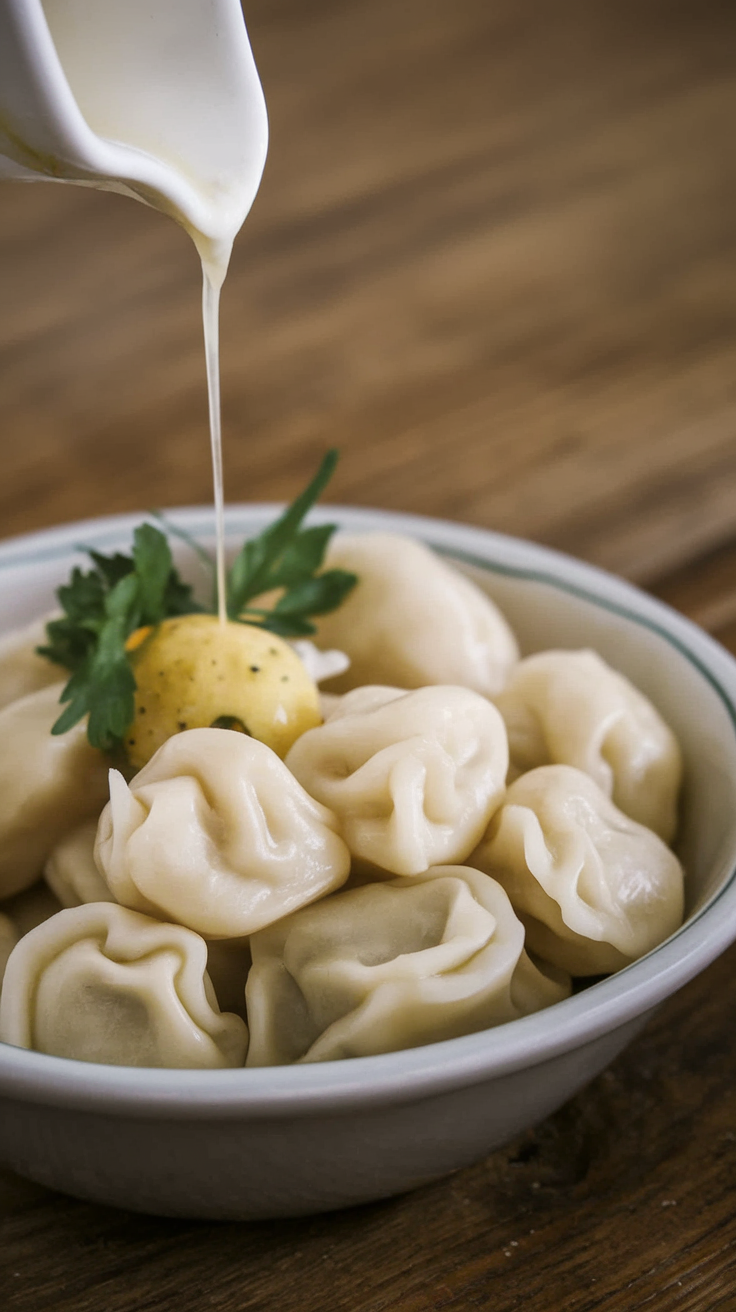
Russian Chicken Pelmeni—oh, how they transport me back to those snowy Moscow streets, steam rising from every corner street vendor’s cart. This recipe, a cherished gem, isn’t just about dumplings filled with savory goodness; it’s a warm hug in culinary form. And while some might argue it’s just dough and meat, the magic lies in the way these little parcels capture the essence of home, love, and perhaps even a touch of nostalgia.
Steps
- In a mixing bowl, combine 2/3 cup buttermilk, 2 cups warm water, 2 eggs, 1 tablespoon sour cream, and 1/2 tablespoon salt using a whisk attachment on medium speed until smooth.
- Gradually add 4 cups of flour to the mixture using a dough hook on speed 2, ensuring each cup is well incorporated before adding the next.
- Continue adding the remaining 3 cups of flour one at a time, mixing thoroughly after each addition, until the dough is well combined.
- Add additional flour, a tablespoon at a time, until the dough no longer sticks to the bowl. Mix for an additional 5 minutes to create a soft and elastic dough. Cover with plastic wrap or a towel until ready to use.
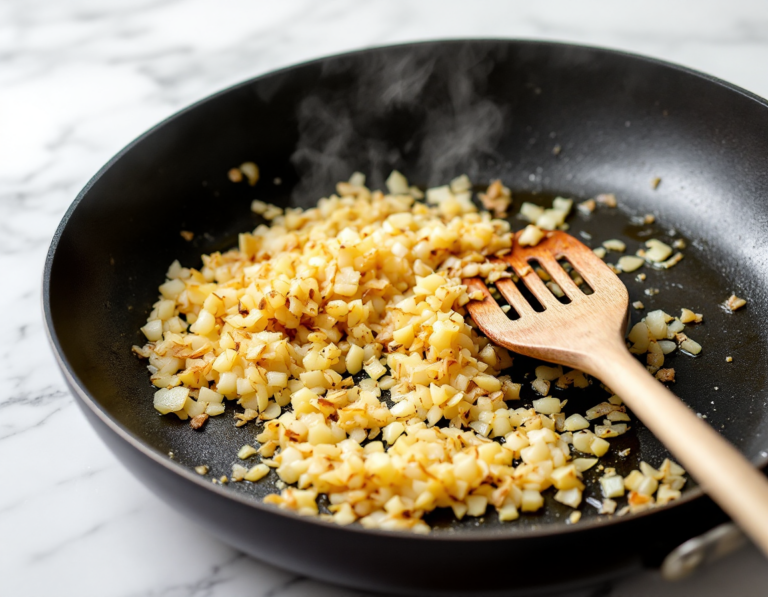
- For the filling, heat 1 tablespoon of oil in a skillet over medium-high heat, sautéing the chopped onion until golden brown and soft, then add minced garlic and cook for another minute before removing from heat.
- In a bowl, combine the ground chicken, sautéed onion and garlic, 3/4 teaspoon salt, 1/4 teaspoon black pepper, and 2 tablespoons chopped parsley, mixing until thoroughly blended.
- Roll out tennis-ball-sized pieces of dough on a floured surface until they form circles larger than the pelmeni mold.
- Dust your mold with flour, place the rolled dough over it, and fill each indentation with 1/2 teaspoon of the prepared filling.
- Roll out another piece of dough and place it over the filled mold, using a rolling pin to press and define the pelmeni shapes.
- Invert the mold and release the pelmeni onto a floured board, sealing any open edges to prevent filling leakage during cooking.
- If shaping by hand, roll dough into a 1 to 2-inch thick log, cut into small pieces, and roll each into a 1.5-inch circle.
- Place 1 teaspoon of filling in the center of each circle, fold over the dough, and pinch edges to seal, creating a half-moon shape, then join the corners to form a traditional pelmeni shape.
- To freeze, arrange pelmeni on a floured board and freeze before transferring to resealable bags for storage.
- To cook, bring a pot of salted water to a boil, add fresh or frozen pelmeni, and return to a boil. Once they float, cook for an additional 3 minutes until done.
- Drain the cooked pelmeni, toss with melted butter, and optionally garnish with dill. Serve warm with ketchup, sour cream, or vinegar.
Ingredients
- 2/3 cup buttermilk
- 1 tablespoon sour cream
- 2 cups warm water
- 2 large eggs
- 1/2 tablespoon salt
- 7 cups + approximately 6 tablespoons unbleached all-purpose flour (plus extra for dusting)
- 1 3/4 pounds ground chicken thigh (retain the fat if grinding it yourself)
- 3/4 teaspoon salt
- 1/4 teaspoon ground black pepper
- 2 tablespoons cooking oil or mild olive oil
- 1 medium onion, finely chopped
- 3 garlic cloves, pressed
- 2 tablespoons chopped fresh parsley
- Unsalted butter, melted
- Sour cream
- Vinegar
- Ketchup
FAQ
- What is the best type of chicken to use for pelmeni filling?
- For the juiciest filling, ground chicken thighs are recommended. If unavailable, ground chicken breast can be used as a substitute.
- Can I freeze pelmeni for later use?
- Yes, you can freeze pelmeni. Arrange them on a floured cutting board, freeze until solid, and then transfer to a ziplock bag for storage.
- How do I cook frozen pelmeni?
- Add frozen pelmeni directly to boiling water (do not thaw), and once they float, continue boiling for an additional 3 minutes to ensure thorough cooking.
- What are some suggested condiments for serving pelmeni?
- Pelmeni can be served with a variety of toppings such as melted butter, sour cream, vinegar, or ketchup.
- Is it necessary to use a pelmeni mold?
- A pelmeni mold simplifies the process, but you can shape pelmeni by hand by rolling dough into circles, filling, and sealing them to form a half-moon shape.
Tips
- Use Cold Ingredients for Easy Handling: When mixing the ground chicken filling, consider using a KitchenAid mixer to avoid cold fingers. This method keeps your hands warm while effectively blending the ingredients.
- Consider a Pelmeni Mold: If you have access to a pelmeni mold, it can really streamline the process. Ensure the mold is well-floured before placing the dough on it, and use a rolling pin to press the dough over the mold efficiently.
- Seal Edges Tightly: When forming pelmeni, whether by mold or hand, make sure to tightly seal the edges. This prevents the filling from leaking out during cooking.
- Freeze for Convenience: For easy meals later, freeze the pelmeni on a floured surface before transferring them to a ziplock bag. This method ensures they don’t stick together and are ready for quick cooking on a busy day.
Equipment
- KitchenAid Stand Mixer – Helpful for mixing dough and ground meat.
- Whisk Attachment – Used with the stand mixer for combining wet ingredients.
- Dough Hook Attachment – Used with the stand mixer for kneading dough.
- Pelmeni Mold – A specialized mold for shaping pelmeni.
- Rolling Pin – Used for rolling out dough.
- Plastic Wrap or Tea Towel – To cover the dough and prevent it from drying out (though these are more common household items, some might prefer specific options for baking purposes).

I’m Heather, the founder of Hearty Home Bites, a place where I share my love for delicious, approachable recipes and the joy of gathering around the table. What started as a personal project quickly grew into a trusted resource for home cooks everywhere.