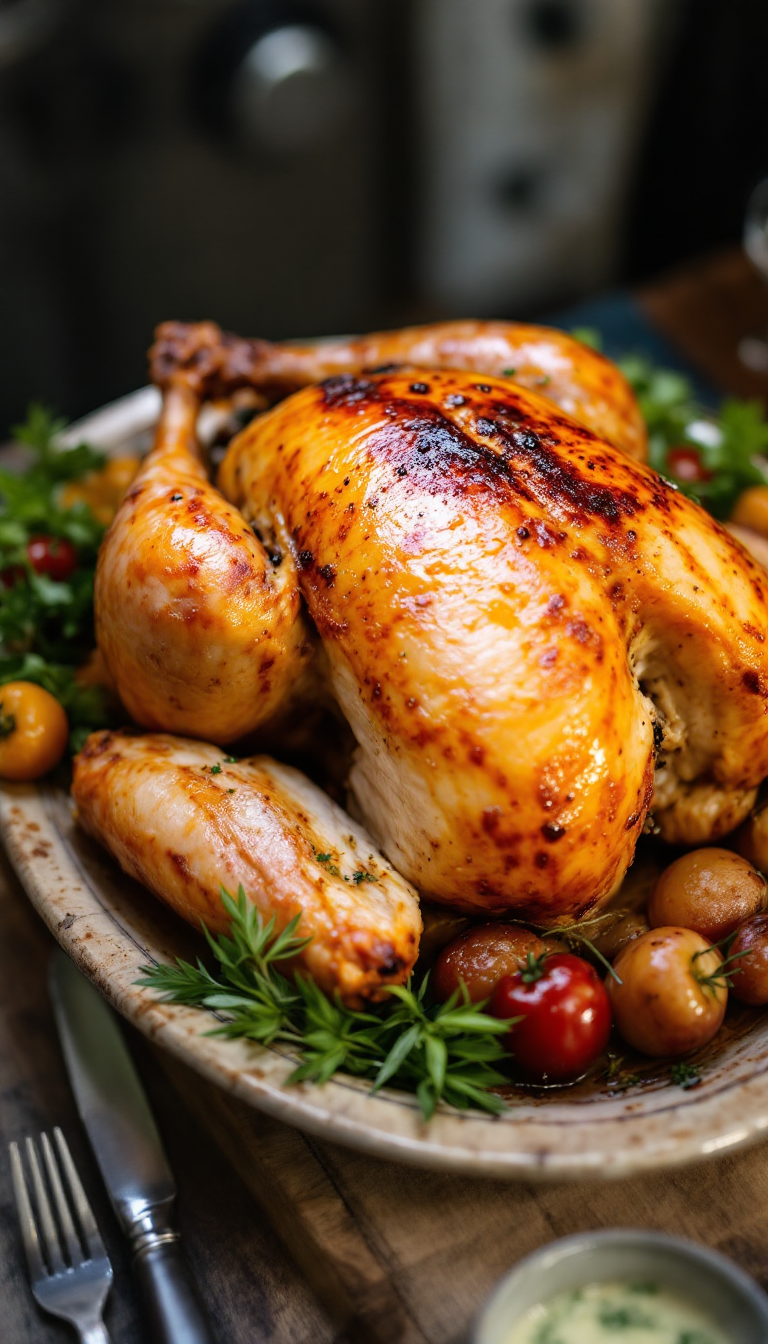
Every holiday season, I find myself in the kitchen wrestling with the idea of cooking a turkey—it’s like hosting a grand performance where the bird is the star, and I’m the frantic director backstage. But trust me, there’s magic in a spatchcocked turkey that refuses to be ignored. With its crispy skin and juicy meat, it feels like a gift that keeps on giving, way better than last year’s awkward family board game night or the endless debates over which Christmas movie is the best.
Steps
- Preheat your oven to 450°F (230°C) and position the rack in the middle. Line a rimmed baking sheet or broiler pan with aluminum foil, and spread two-thirds of the chopped onions, carrots, celery, and thyme sprigs across the bottom. Place a slotted broiler or wire rack directly over the vegetables.
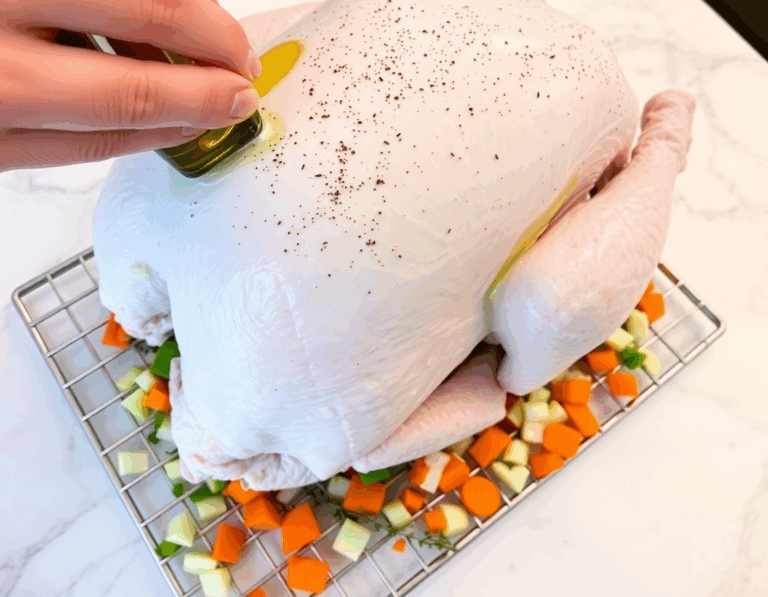
- Pat the turkey dry with paper towels, then rub one tablespoon of oil all over its surface. Generously season the turkey with salt and black pepper, then tuck the wing tips behind the back. Place the turkey on the rack, ensuring it doesn’t hang over the edges, and press down on the breastbone to flatten it slightly.
- Roast the turkey in the oven, rotating occasionally, until an instant-read thermometer registers 150°F (66°C) in the breast and at least 165°F (74°C) in the thighs, which should take about 80 minutes.
- While the turkey cooks, prepare the gravy by chopping the neck, backbone, and giblets. Heat the remaining tablespoon of oil in a saucepan over high heat, add the chopped turkey parts, and cook until browned. Add the remaining onions, carrots, and celery, cooking until the vegetables soften and brown slightly.
- Pour in the chicken or turkey stock, add the remaining thyme and bay leaves, and bring to a boil. Reduce the heat to a simmer and cook for 45 minutes, then strain through a fine-mesh strainer into a measuring cup, discarding the solids. Skim any fat from the broth’s surface.
- Melt the butter in a saucepan over medium-high heat, then add the flour, stirring constantly until golden brown. Gradually whisk in the broth until fully incorporated, bring to a boil, then reduce to a simmer, cooking until reduced to about 1 quart. Season the gravy with salt and pepper, then cover and keep it warm.
- Once the turkey is done, remove it from the oven and allow it to rest at room temperature for 20 minutes before carving. Pour the pan juices through a strainer into a measuring cup, skim off excess fat, and whisk the juices into the gravy.
- Carve the turkey and serve it with the prepared gravy.
Ingredients
- 3 large onions, roughly chopped (approximately 1 1/2 quarts)
- 3 large carrots, peeled and roughly chopped (approximately 1 quart)
- 4 stalks of celery, roughly chopped (approximately 1 quart)
- 12 sprigs of thyme
- 1 whole turkey (12 to 14 pounds), prepared by butterflying, with the backbone, neck, and giblets set aside
- 2 tablespoons of vegetable oil, divided
- Kosher salt and freshly ground black pepper to taste
- 1 1/2 quarts of low-sodium chicken or turkey broth, either homemade or store-bought
- 2 bay leaves
- 3 tablespoons of unsalted butter
- 4 tablespoons of all-purpose flour
FAQ
- What is spatchcocking and why is it beneficial for cooking turkey?
- Spatchcocking involves removing the backbone of the turkey and flattening it out. This method promotes even cooking by exposing the legs and thighs, which need higher temperatures, to more heat, and positions all the skin on top for maximum crispiness. Additionally, the flatter shape reduces cooking time significantly.
- Can I use the removed backbone for anything?
- Yes, the backbone can enhance the flavor of your gravy. By adding it to the stock along with other turkey parts, you can create a more robust and flavorful gravy.
- Are there any downsides to spatchcocking a turkey?
- Some people may find the presentation less traditional, as the bird is flatter and the legs are splayed. Moreover, you can’t stuff the turkey itself, though you can cook it over a tray of stuffing to infuse flavor.
- Does spatchcocking affect cooking time?
- Yes, spatchcocking significantly reduces the cooking time. A spatchcocked turkey can roast in approximately 80 minutes at a higher temperature of 450°F, compared to a few hours for a traditionally roasted turkey.
- How can I prevent the pan drippings from burning while roasting a spatchcocked turkey?
- To avoid burning, place a layer of chopped vegetables under the turkey. These will add flavor and emit steam, regulating the temperature and preventing the juices from scorching.
Tips
- Flatten the Turkey for Even Cooking: When spatchcocking the turkey, ensure to press down hard on the breastbone after removing the backbone. This will help flatten the bird, promoting even cooking and ensuring that both the dark and light meats reach their optimal temperatures simultaneously.
- Use a Rack for Better Results: Place the spatchcocked turkey on a wire rack set over a baking sheet lined with chopped vegetables. This not only helps in even roasting but also prevents the drippings from burning, enhancing the flavor of your gravy.
- Enhance Gravy with Turkey Bones: Utilize the removed backbone and other turkey parts like the neck and giblets to make a rich broth. This will add depth of flavor to your gravy, making it more delicious than using just stock alone.
- Roast at High Temperature for Crisp Skin: Cook the turkey at a higher temperature of 450°F (230°C) to achieve perfectly crisp skin and to speed up the cooking process, saving significant time compared to traditional roasting methods.
Equipment
- Poultry Shears – Essential for cutting out the backbone to spatchcock the turkey.
- Instant-Read Thermometer – To ensure the turkey reaches the optimal internal temperature.
- Fine-Mesh Strainer – Used for straining the gravy.
- Wire Rack – For laying the turkey flat during roasting.
- 2-Quart Liquid Measuring Cup – For measuring and handling the broth.
- 2-Quart Saucepan – For making the gravy.
- Whisk – For incorporating broth into the gravy smoothly.