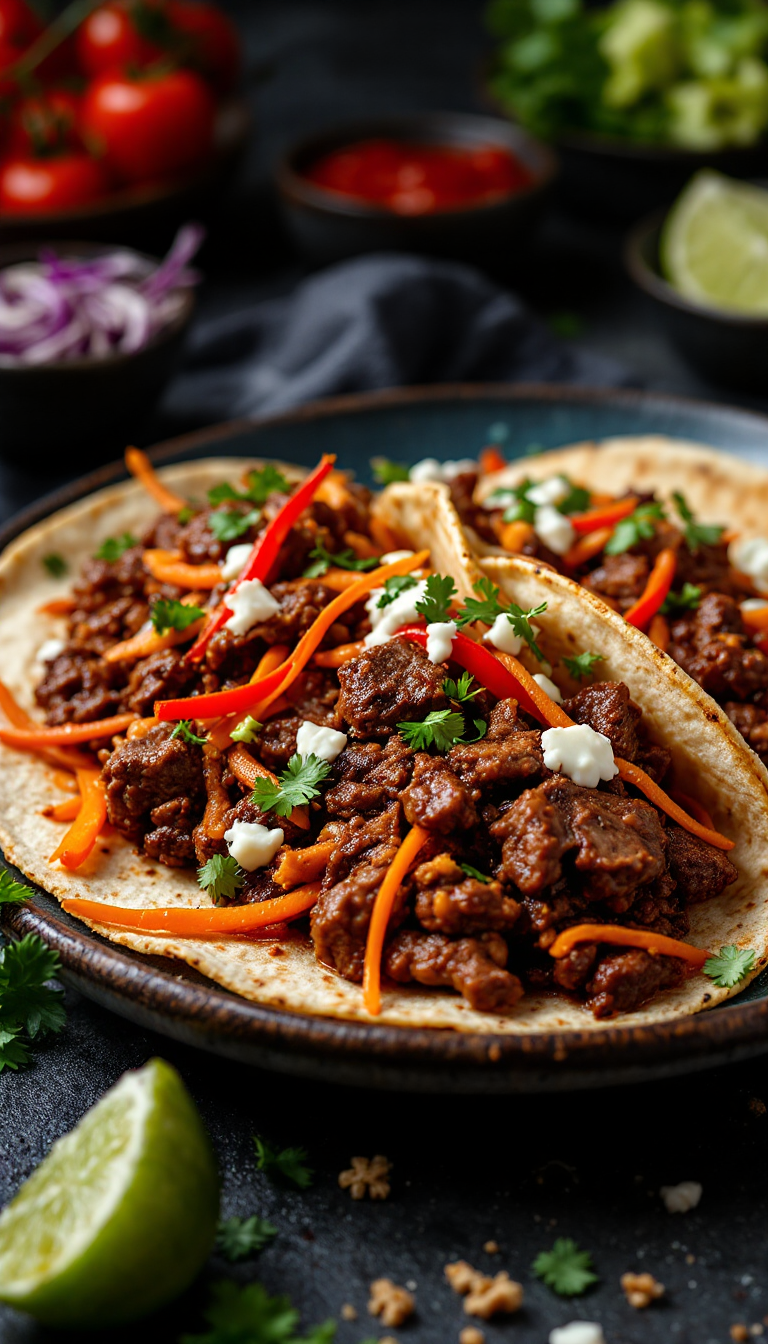
Oh, the delightful art of making meat piroshki and belyashi! These savory pastries are like little hugs for your taste buds—they remind me of my grandmother’s kitchen, where the air was always filled with the comforting aroma of freshly baked dough. Whether you’re craving something hearty or just need a hug in food form, these authentic recipes are bound to transport you to a cozy nook somewhere in Eastern Europe, where time seems to stand still and every bite is a celebration.
Steps
- Begin by preparing the dough using a bread maker or stand mixer. Add oil, water, and flour with salt, followed by more flour and yeast. Let the dough mix and rise twice, which takes about 1 to 1.5 hours.
- Once the dough is ready, place it on a floured surface and shape it into a large log. It will continue to rise as you work.
- Slice the log into pieces about 3/4 inch thick. Take each piece, dust your hands with flour, and form a 3 to 4-inch circle, keeping one side free of flour for sealing.
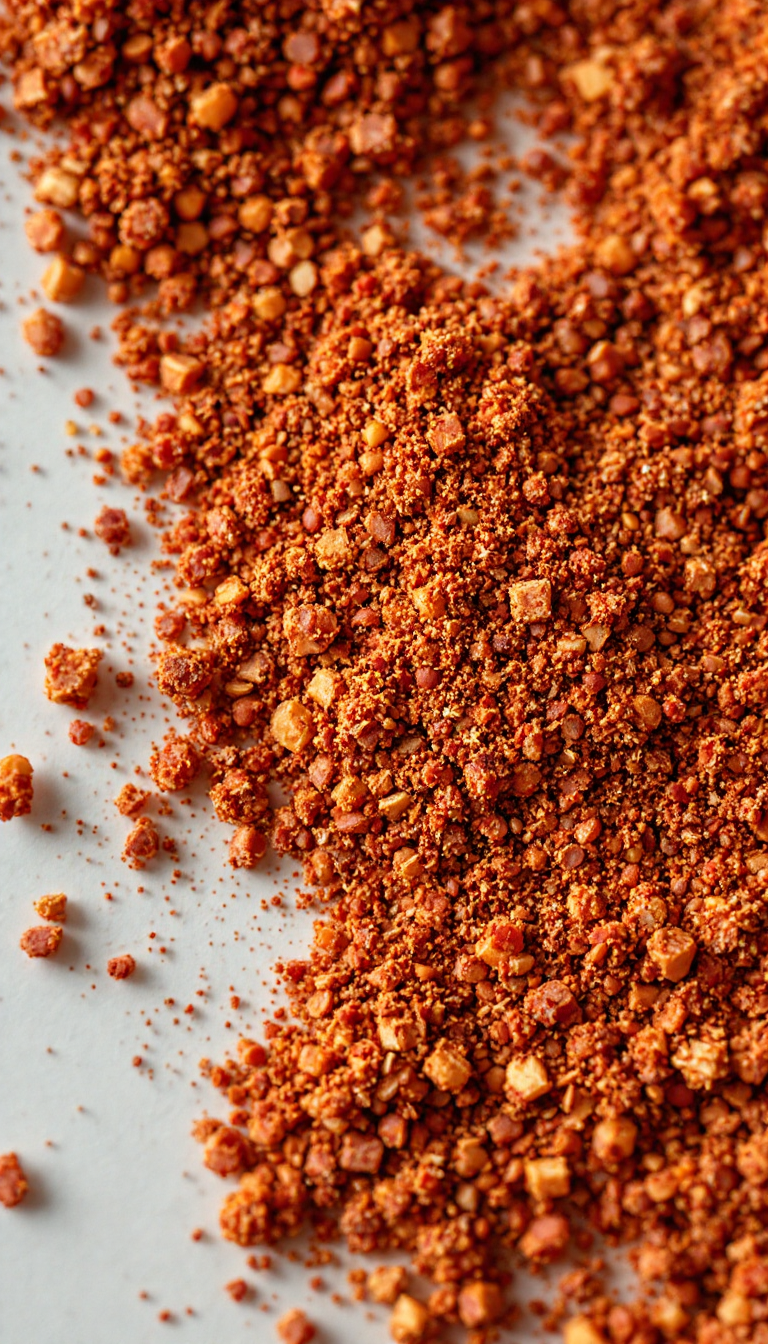
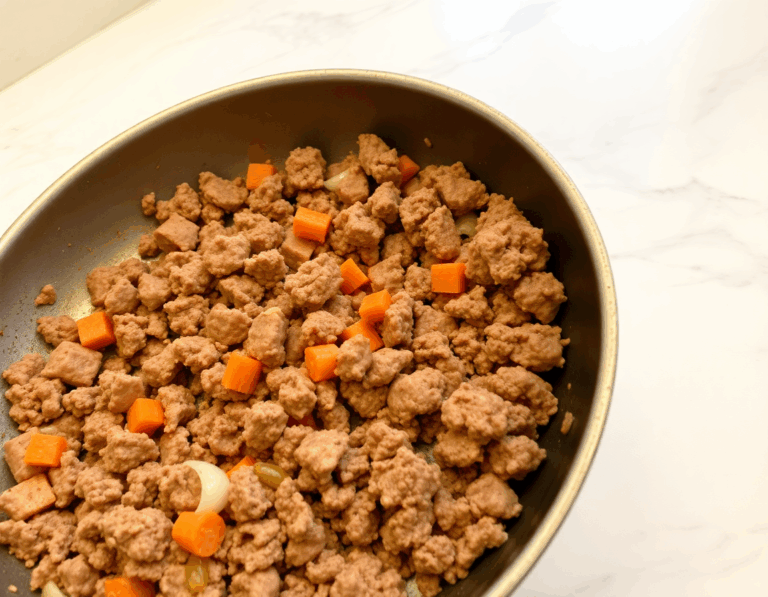
- For the filling, heat a skillet and cook the ground beef and turkey until browned. Add salt, pepper, garlic powder, onion, and carrot, and continue to sauté.
- Stir in dill, mayonnaise, and water to moisten the mixture. Allow the filling to cool to room temperature.
- Place a tablespoon of the meat filling in the center of each dough circle, fold the dough over the meat, and pinch the edges to seal. Slightly flatten the filled dough for even frying.
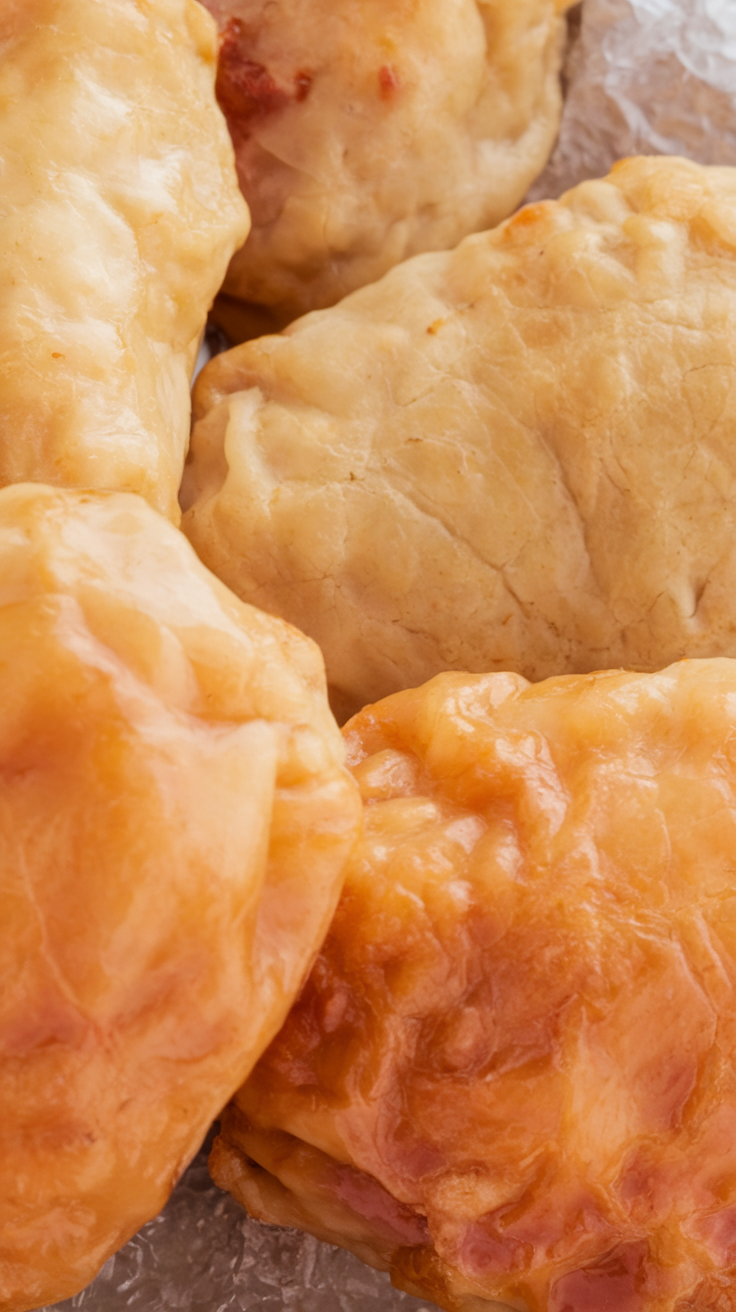
- Heat oil in a deep pan to 330°F, ensuring it reaches halfway up the sides of the piroshki. Fry until they turn a deep golden brown on both sides, adjusting for any uneven puffing.
- Once fried, drain the piroshki on paper towels. Serve warm, optionally with a garlic dip for added flavor.
Ingredients
- 1 1/2 tablespoons oil
- 15 ounces warm water
- 4 cups plus 2 tablespoons all-purpose flour (divided)
- 1 teaspoon salt
- 1 tablespoon active dry yeast
- 1 pound ground turkey
- 1 pound ground beef (80/20 fat content)
- 2 tablespoons olive oil
- 1/2 teaspoon salt
- 1/4 teaspoon pepper
- 1/2 teaspoon garlic powder
- 1/2 large onion, finely diced
- 1 medium carrot, finely grated
- 3 tablespoons dill
- 2 tablespoons mayonnaise
- 1/2 cup warm water
- Sufficient canola oil to reach halfway up the side of the piroshki when frying
- Additional flour for dusting the cutting board (approximately 1/2 cup)
- 1/4 cup warm water
- 1 tablespoon olive oil (or any preferred oil)
- 1 garlic clove, pressed
- 1/2 teaspoon salt
FAQ
- What is the difference between Belyashi and Chebureki?
- Belyashi are often made with cooked meat and have a thicker dough, while Chebureki typically use raw meat and have a thinner, crispier dough.
- Can I use a bread maker to prepare the dough for Piroshki?
- Yes, a bread maker can simplify the process. Set it to the dough setting and add the ingredients in the specified order. It will mix, let the dough rise, and repeat the process, making it ready in about 1 to 1.5 hours.
- What type of meat is traditionally used in Belyashi, and can I substitute it?
- Traditionally, lamb is used for Belyashi, but you can substitute it with turkey or beef, which are more common and still provide excellent flavor.
- How can I prevent the dough from sticking to my hands while making Piroshki?
- To prevent the dough from sticking, keep your hands well-floured and consider washing them midway through the process to remove any excess dough.
- What is the best way to fry the Piroshki to ensure they cook evenly?
- Use a large, deep, heavy-bottomed pan with enough oil to cover the Piroshki halfway. Fry them at around 330°F until they are a deep golden brown on each side. If they puff up, you may need to fry a third side briefly.
Tips
- Use a Breadmaker for Easy Dough Preparation: If you have a bread maker, use it to mix and let the dough rise. This simplifies the process since the machine will handle the mixing and rising, ensuring consistent results.
- Keep Your Hands and Surface Well-Floured: The dough can be sticky, so make sure to dust both the cutting board and your hands with plenty of flour to prevent sticking and make it easier to work with.
- Seal the Dough Properly: When placing the meat filling onto the dough, avoid getting flour on the edges that will be sealed. This ensures that the dough sticks together properly, preventing the filling from leaking out during frying.
- Monitor Oil Temperature While Frying: Maintain the oil temperature around 330°F for optimal frying. This helps achieve a deep golden brown color and ensures the piroshki are cooked evenly without absorbing too much oil.
Equipment
- Bread Maker – for easily making and rising the dough.
- Stand Mixer with Dough Hook – as an alternative to the bread maker for mixing and rising the dough.
- Cast Iron Dutch Oven or a Large, Deep, Heavy-Bottomed Pan – for frying the piroshki.
- Digital Cooking Thermometer – to ensure the oil reaches the correct frying temperature of about 330°F.

I’m Heather, the founder of Hearty Home Bites, a place where I share my love for delicious, approachable recipes and the joy of gathering around the table. What started as a personal project quickly grew into a trusted resource for home cooks everywhere.