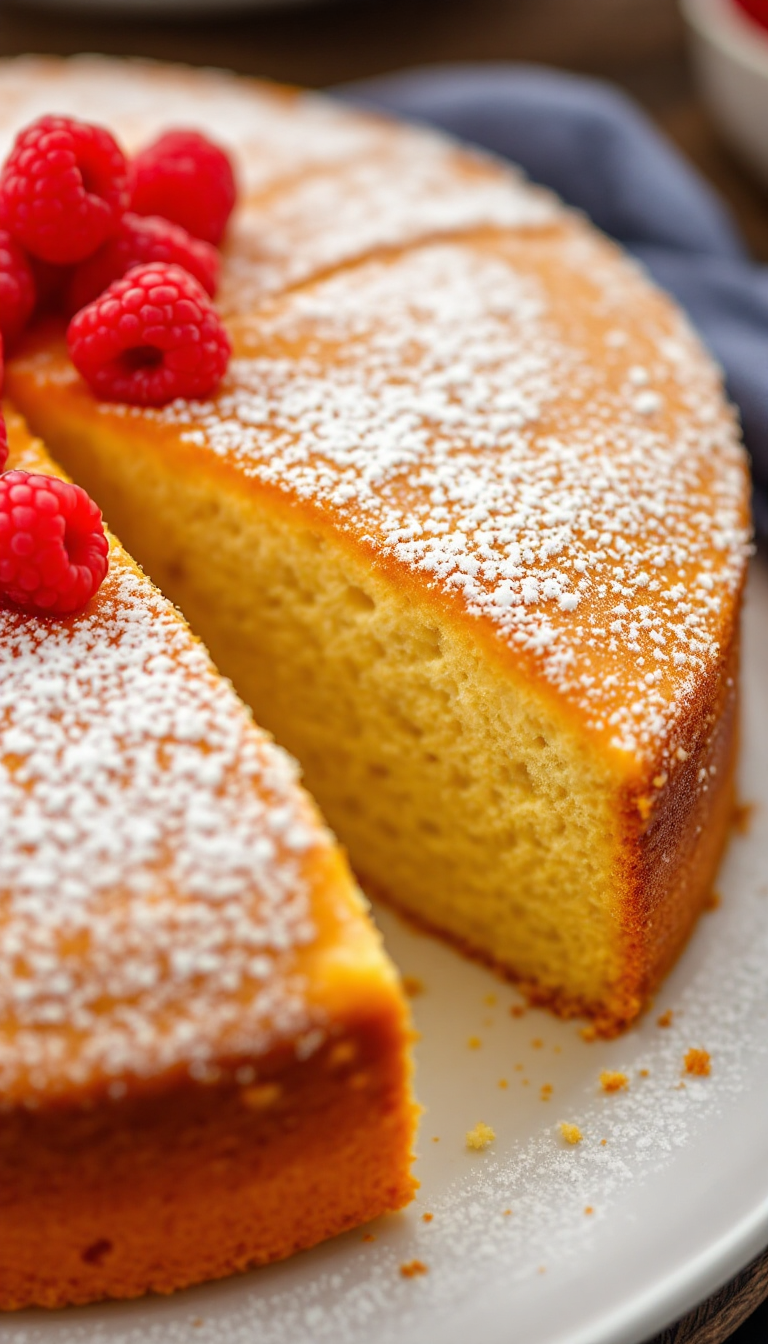
Imagine a cake that’s a bit like a decadent symphony—each layer playing its own sweet tune. The Kiev Cake is an indulgent classic that dances between crunchy meringue and velvety buttercream, leaving your guests in awe and maybe a little envious. And who could resist the nostalgic charm of a dessert that feels like a warm hug on a chilly day?
Steps
- Prepare a 9×13 cake pan by lining it with wax paper and brushing melted butter on top. Whisk 6 egg whites and sugar on high speed until stiff peaks form, then spread them in the pan. Bake at 250°F for 4 hours and 10 minutes, then cool the meringue.
- Preheat the oven to 350°F and line a 13×9 cake pan with wax paper. Separate egg whites from yolks, and whisk yolks with sugar, vanilla, and flour until smooth.
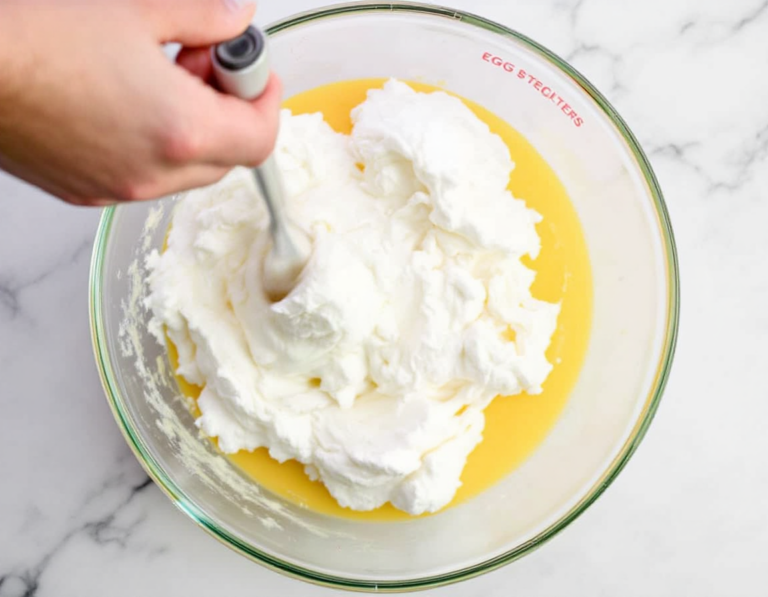
- Beat egg whites in a large bowl until they increase in volume, then gently fold the yolk mixture into the whites. Pour the batter into the pan and bake for 22 minutes until golden, then peel off the wax paper and cool the cake.
- For assembly, blend the apricots and mix the syrup ingredients until sugar dissolves. Slice the cake into two layers, placing the first on a serving dish.
- Pour half the syrup and spread half the apricot puree over the first layer, then coat with a quarter of the frosting.
- Position the meringue on the cake, trim it to fit, and spread frosting over it. Place the second cake layer, pour the remaining syrup, and spread the rest of the apricot puree.
- Frost the entire cake and sprinkle crushed meringue crumbs on top and sides for decoration. Ensure even coverage by using a spatula or sieve, then refrigerate until serving.
Ingredients
- 1 cup all-purpose flour
- 8 eggs, separated
- 3/4 cup granulated sugar
- 1 teaspoon pure vanilla extract
- 6 egg whites, at room temperature
- 1 1/3 cups granulated sugar
- 1 tablespoon unsalted butter, melted (for greasing wax paper)
- 15-ounce can of apricot halves in light syrup
- 1/4 cup water
- 1 teaspoon lemon juice
- 1 tablespoon granulated sugar
- Refer to the separate frosting recipe or use the frosting from a Russian Cherry layer cake (whipping cream and sweetened condensed milk).
FAQ
- What is Kiev Cake and why is it special?
- Kiev Cake is a traditional Ukrainian dessert that combines layers of sponge cake, crunchy meringue, and apricot syrup, making it a unique and delicious treat. It’s particularly special due to its combination of textures and the homemade syrup with apricots.
- How do I ensure the meringue layer remains crunchy?
- For maximum crunchiness, the meringue should be consumed on the same day the cake is assembled. The meringue itself can be prepared a day in advance, but once the cake is put together, it’s best to enjoy it promptly.
- Can the meringue be prepared ahead of time?
- Yes, the meringue can be baked and left to cool at room temperature overnight, covered with a dry tea towel, which helps in managing your preparation time more effectively.
- What is a good alternative frosting for the Kiev Cake?
- The frosting from the Russian Cherry layer cake, which includes whipping cream and sweetened condensed milk, is a fantastic alternative for the Kiev Cake.
- How should the cake be stored if not eaten immediately?
- Once assembled, the Kiev Cake should be refrigerated until it is ready to be served. It remains delicious for a few days when stored in the refrigerator.
Tips
- Prepare the meringue layer a day in advance to save time on baking day. This layer requires a lengthy drying process, so making it ahead ensures you can focus on the rest of the cake without feeling rushed.
- When making the sponge cake, be cautious not to overbeat the egg whites. They should be whipped until they are about 3-4 times their original volume. Overbeating can lead to a loss of volume, which will affect the cake’s texture.
- To maintain the meringue’s crunchiness, assemble and enjoy the cake on the same day. The meringue layer tends to soften over time, so eating it fresh provides the best texture contrast.
- Use a fine mesh sieve when sprinkling meringue crumbs over the cake to achieve a more even distribution. Holding a spatula against the cake’s side while sprinkling can also help keep more crumbs on the cake rather than falling off.
Equipment
- Electric mixer with a whisk attachment
- 9×13 non-stick cake pan
- Wax paper
- Blender
- Fine mesh sieve

I’m Heather, the founder of Hearty Home Bites, a place where I share my love for delicious, approachable recipes and the joy of gathering around the table. What started as a personal project quickly grew into a trusted resource for home cooks everywhere.

