If you love a good appetizer that’s both creamy and packed with flavor, this Easy Hot Shrimp Dip is a must-try. Perfect for parties or a cozy night in, this dip combines succulent shrimp with the rich tang of cream cheese. It’s quick to prepare and guaranteed to be a hit, leaving your guests reaching for more. Get ready to savor every bite!
Steps
- Preheat your oven to 375 degrees Fahrenheit.
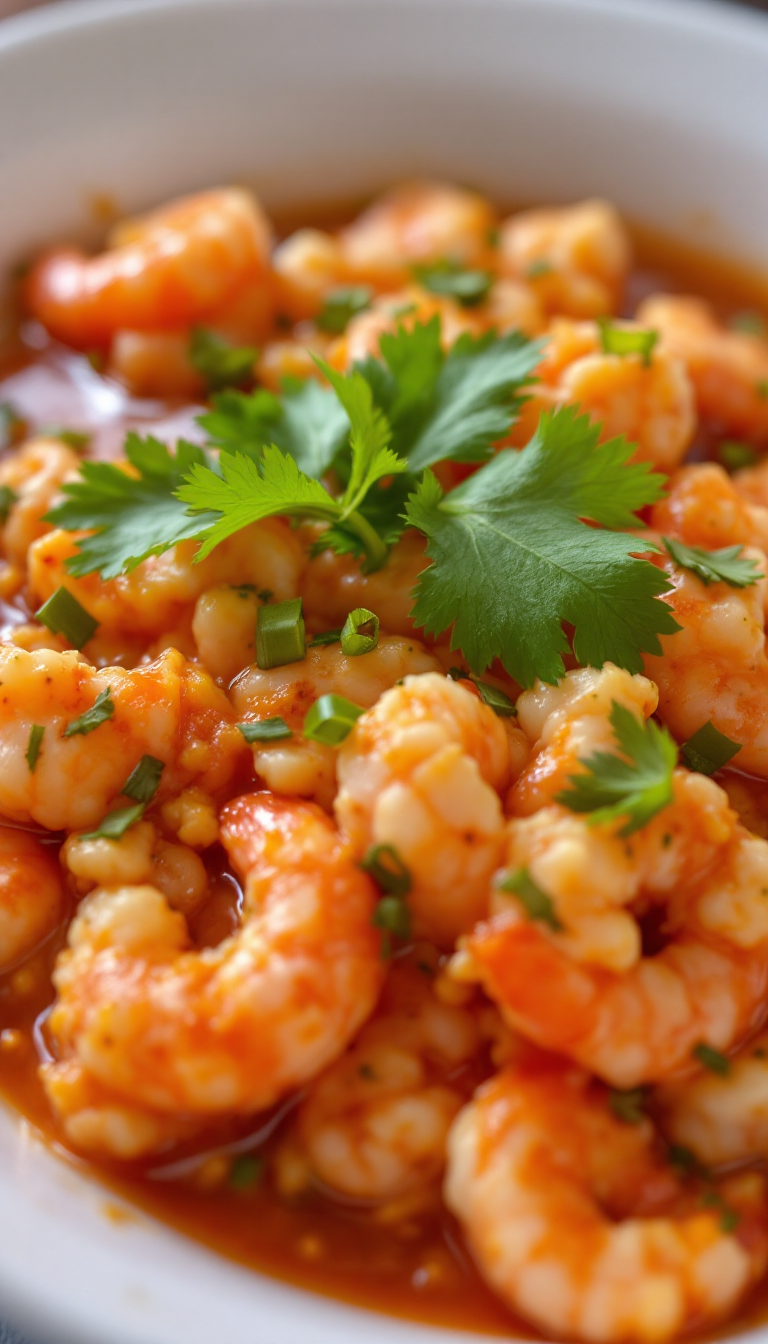
- If your shrimp isn’t already cooked, steam, sauté, or grill it, then peel and chop into small pieces to ensure each bite contains shrimp.
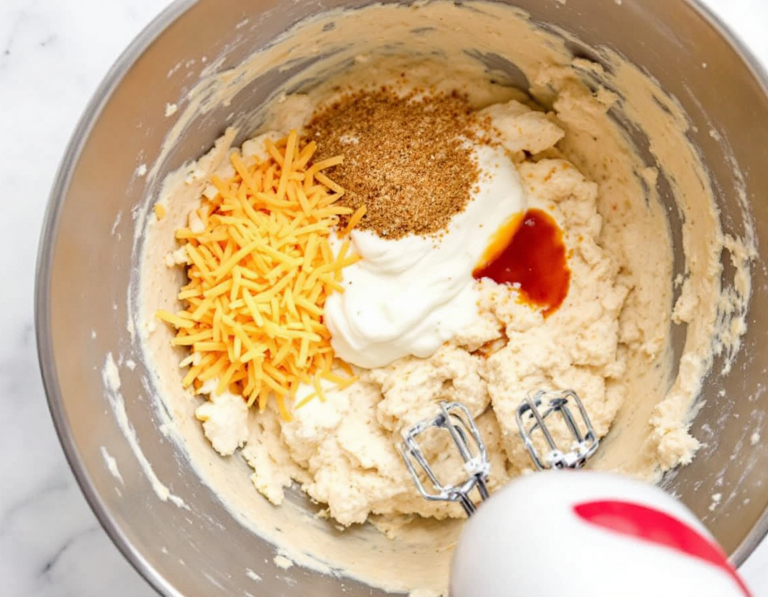
- In a medium bowl, use a hand mixer to combine softened cream cheese, mayonnaise, sour cream, most of the cheddar and pepper jack cheese, Old Bay Seasoning, Worcestershire sauce, and a few dashes of hot sauce until smooth.
- Gently fold in the chopped shrimp, minced garlic, and sliced green onions into the cheese mixture.
- Transfer the mixture to a baking dish and sprinkle the remaining cheddar and pepper jack cheese over the top.
- Bake for 20-25 minutes until the cheese is melted and the edges are bubbly.
- Optionally, garnish with whole shrimp and additional sliced green onions or chopped parsley before serving.
- Serve the dip warm with a selection of crackers, crostini, or vegetable sticks.
Ingredients
- 8 ounces softened cream cheese
- 1/3 cup mayonnaise
- 1/4 cup sour cream
- 1 1/4 cup shredded cheddar cheese, divided
- 1 1/4 cup shredded Pepper Jack cheese, divided
- 1/2 tablespoon Old Bay Seasoning
- 1 teaspoon Worcestershire Sauce
- 3-4 dashes hot sauce
- 16 ounces cooked shrimp, coarsely chopped
- 2 cloves garlic, minced
- 3 green onions, thinly sliced
Nutritional Values
Calories: 2940kcal | Carbohydrates: 24g | Protein: 180g | Fat: 240g | Saturated Fat: 120g | Polyunsaturated Fat: 36g | Monounsaturated Fat: 60g | Trans Fat: 0.12g | Cholesterol: 1296mg | Sodium: 3684mg | Potassium: 1992mg | Fiber: 1.2g | Sugar: 12g | Vitamin A: 6372IU | Vitamin C: 12mg | Calcium: 2688mg | Iron: 6mg
FAQ
- Can I prepare the shrimp dip ahead of time?
- Yes, you can prepare the shrimp dip up to 24 hours in advance. Simply cover it with plastic wrap and store it in the refrigerator. Remember to take it out 30 minutes before baking to let it come closer to room temperature, and make sure to remove the plastic wrap before placing it in the oven.
- What can I use if I want to make the dip spicier?
- If you prefer a spicier dip, you can swap the Old Bay Seasoning with Cajun seasoning or add some minced jalapeño. A few dashes of Tabasco sauce will also add an extra kick.
- How should I store leftovers of the shrimp dip?
- Store any leftover shrimp dip in an airtight container in the refrigerator for up to 2 days. To reheat, use reduced power in the microwave to prevent the dip from drying out.
- What should I serve with the shrimp dip for a low-carb option?
- For a low-carb alternative, serve the shrimp dip with cucumber rounds and celery sticks. These options are perfect for those looking to cut down on carbs while enjoying the dip.
- How can I clean shrimp properly before cooking?
- To clean shrimp, set up a clean workspace near the sink with cold running water. Remove the head if it’s still attached by cutting behind the eyes. Peel off the shell by pulling on the legs, and decide whether to keep or remove the tail. Make a shallow cut along the back to expose the black vein, which can be rinsed away under water. Pat the shrimp dry with paper towels before cooking.
Tips
- To give the dip an extra kick, consider swapping the Old Bay Seasoning for Cajun seasoning or adding finely minced jalapeno for a spicy twist.
- For optimal flavor and texture, prepare the dip up to 24 hours ahead of time and refrigerate it. Remember to remove it from the fridge about 30 minutes before baking to bring it to room temperature, ensuring even cooking.
- Use medium to large shrimp for this recipe, as they tend to retain moisture better during the cooking and baking process.
- Avoid overbaking the dip; bake just until the cheese is melted and the edges are lightly browned for the best results.
Equipment
- Electric hand mixer
- Baking dish

I’m Heather, the founder of Hearty Home Bites, a place where I share my love for delicious, approachable recipes and the joy of gathering around the table. What started as a personal project quickly grew into a trusted resource for home cooks everywhere.