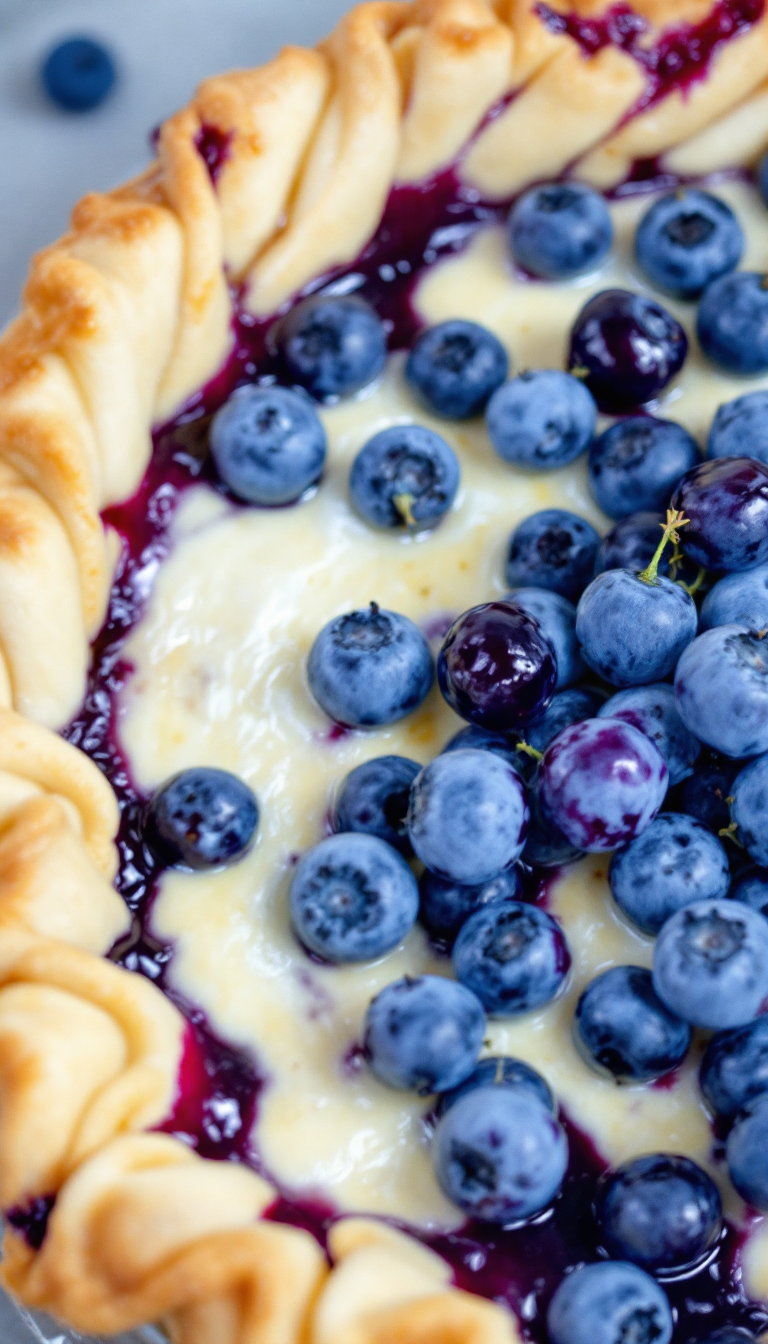
There’s something about the aroma of a blueberry pie baking that just makes me feel like I’m wrapped in a warm, cozy blanket on a rainy day. It’s almost like the sweet scent dances through the air, inviting memories of summer picnics and late-night dessert cravings—a timeless classic with a twist of nostalgia. And while I might be known to exaggerate, this pie? It could quite possibly change your life, or at least your dessert lineup.
Steps
- Prepare the pie crust by following your chosen recipe, ensuring to chill the dough for at least 2 hours.
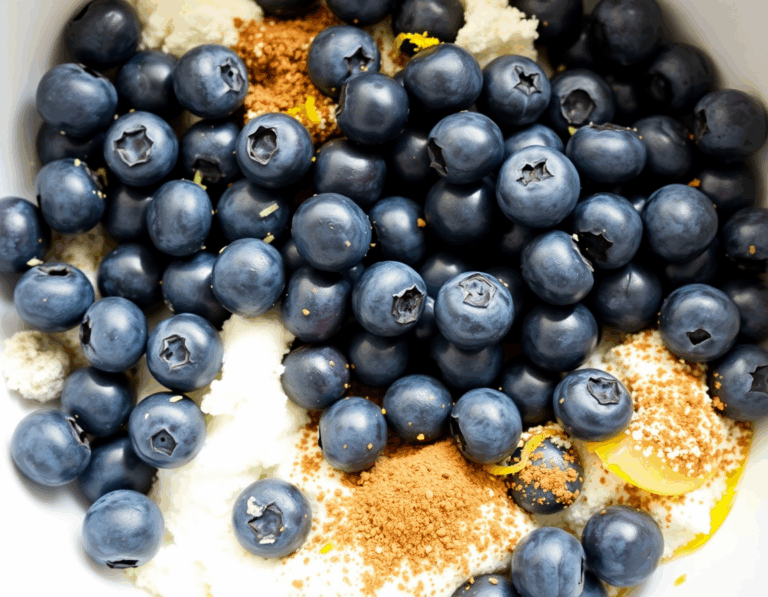
- In a large bowl, combine the blueberries with sugar, flour, cornstarch, cinnamon, lemon juice, and zest. Mix until the dry ingredients are moistened, bursting a few berries if needed.
- Preheat the oven to 425°F (218°C) and place a baking sheet on the lower rack to catch any overflowing juices.
- Roll out the first disc of chilled dough on a floured surface to a 12-inch circle and line a 9-inch pie dish with it. Add the blueberry filling evenly into the crust, dotting small butter pieces on top.
- Roll out the second dough disc and cut it into 10 one-inch strips. Weave the strips over the pie in a lattice pattern, sealing the edges with the bottom crust.
- Brush the top crust with an egg wash and sprinkle with coarse sugar if desired, then bake at 425°F for 25 minutes.
- Reduce oven temperature to 375°F (190°C) and cover the pie edges with a shield to prevent over-browning. Bake for an additional 40-50 minutes until the filling bubbles.
- Allow the pie to cool on a rack for at least 4 hours before slicing to ensure the filling sets properly.
- Store any leftovers tightly covered in the refrigerator for up to 5 days.
Ingredients
- Homemade Pie Crust or All Butter Pie Crust (enough for 2 crusts, one for bottom and one for top)
- 6 cups (3 pints; approximately 860g) fresh blueberries
- 2/3 cup (135g) granulated sugar
- 1/4 cup (31g) all-purpose flour
- 2 tablespoons (14g) cornstarch
- 1/4 teaspoon ground cinnamon
- 2 tablespoons (30ml) lemon juice
- 1 teaspoon lemon zest
- 1 tablespoon (14g) cold unsalted butter, cut into small cubes
- Egg wash: 1 large egg beaten with 1 tablespoon (15ml) milk
- Optional: Coarse sugar for sprinkling on the crust
FAQ
- What is the secret to achieving a perfect blueberry pie filling?
- The key to a perfect blueberry pie filling is patience. Ensuring that the filling ingredients are well mixed, baking the pie for the appropriate amount of time, and allowing it to cool completely are crucial steps. This ensures the filling sets beautifully without being runny.
- How do you prevent the pie crust from over-browning?
- To prevent the pie crust from over-browning, it’s recommended to use a pie crust shield after the initial 25 minutes of baking. You can either purchase one or make your own from aluminum foil. This will help protect the crust edges while allowing the pie to bake thoroughly.
- Why is it important to let the pie cool completely before slicing?
- Allowing the pie to cool completely is essential because the filling continues to set as it cools. Slicing the pie while it’s still warm can result in a soupy filling that hasn’t fully thickened, so it’s best to wait at least 4 hours before serving.
- Can I use frozen blueberries instead of fresh ones?
- While it’s recommended to use fresh blueberries for the best results, you can use frozen blueberries if necessary. However, do not thaw them before use, and be prepared to bake the pie for a few extra minutes as frozen berries may require additional time to cook.
- What are some tips for making the pie crust?
- For an excellent pie crust, use a combination of shortening and butter, which provides both flakiness and tenderness. The crust should be chilled for at least 2 hours before use, and you can prepare it up to 5 days in advance or freeze it for up to 3 months to save time.
Tips
- Mix Filling Thoroughly: To avoid a dry and powdery filling, ensure that the flour, cornstarch, and sugar are well combined with the blueberries, smashing a few berries if necessary to moisten the mixture.
- Use a Combination of Thickeners: For a perfectly set filling, use both cornstarch and flour. This combination helps thicken the filling effectively, preventing it from being too runny.
- Bake at Two Temperatures: Start baking at a high temperature of 425°F (218°C) to set the crust and then lower to 375°F (190°C) for the remainder of the time. This helps the filling thicken and the crust to cook evenly without over-browning.
- Cool Completely Before Slicing: Allow the pie to cool for at least 4 hours before slicing to ensure the filling sets properly and is not soupy when served.
Equipment
- Pastry Blender – For making pie dough.
- 9-inch Glass Pie Dish – Preferred for better visibility of crust browning.
- Rolling Pin – Essential for rolling out the pie dough.
- Zester – For zesting lemons.
- Citrus Juicer – For extracting lemon juice.
- Pastry Brush – For applying the egg wash to the pie crust.
- Pastry Wheel or Pizza Cutter – For cutting dough strips for lattice crust.
- Instant Read Thermometer – To check the internal temperature of the pie filling.
- Pie Crust Shield – To prevent the edges of the crust from over-browning. Alternatively, aluminum foil can be used.
- Cooling Rack – For cooling the pie after baking.

I’m Heather, the founder of Hearty Home Bites, a place where I share my love for delicious, approachable recipes and the joy of gathering around the table. What started as a personal project quickly grew into a trusted resource for home cooks everywhere.