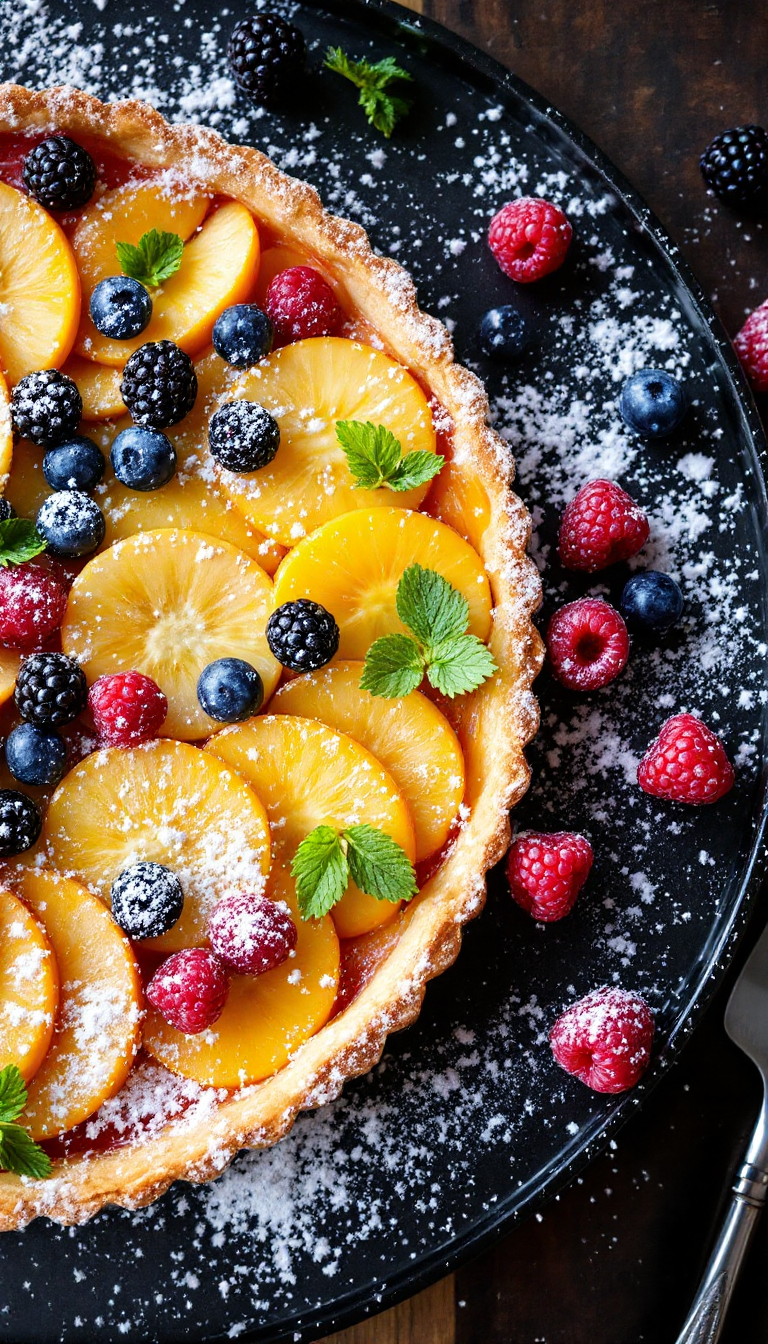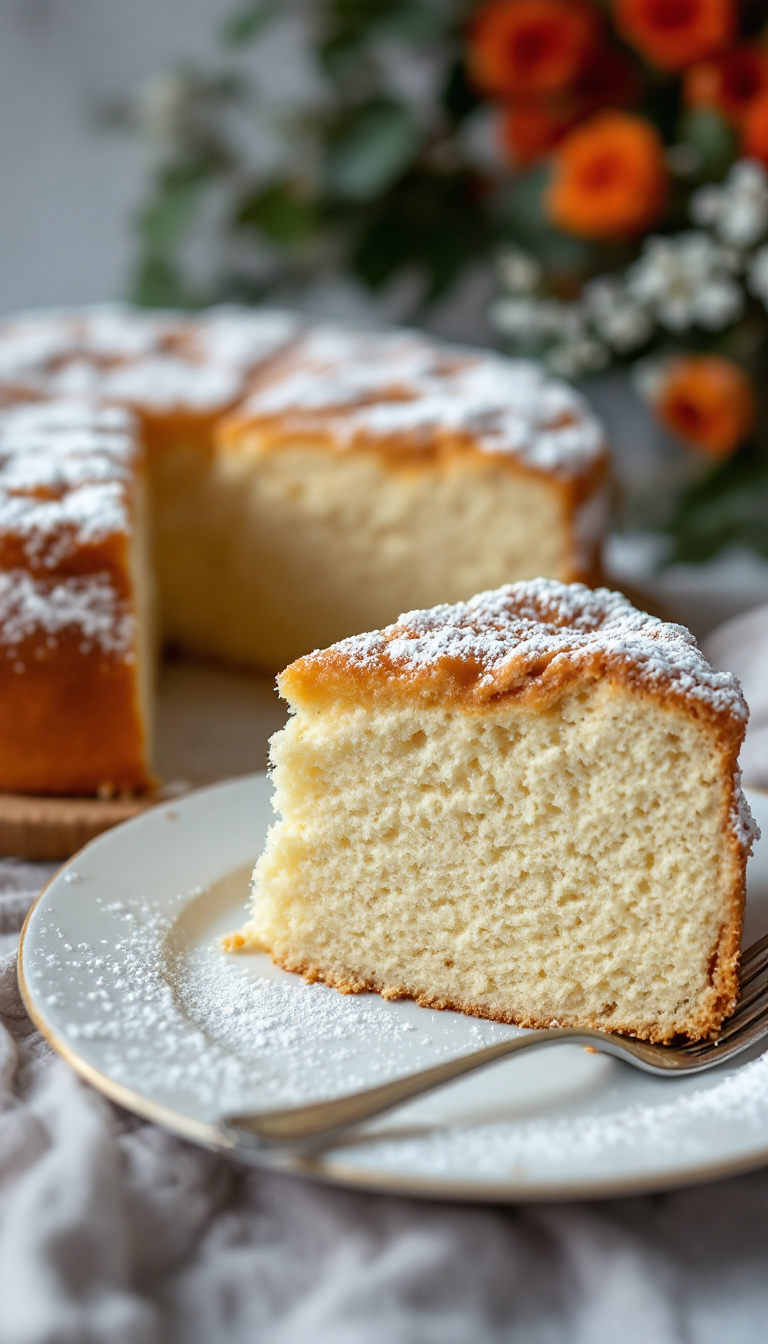
If you’re craving a classic dessert that’s both simple and delicious, the Ultimate Classic Russian Biskvit Cake is the perfect choice. This light and fluffy sponge cake has been a staple in Russian kitchens for generations. With its delicate texture and subtle sweetness, it’s an ideal base for fresh fruits, whipped cream, or just a dusting of powdered sugar. Whether for a special occasion or a casual afternoon treat, this cake is sure to impress.
Steps
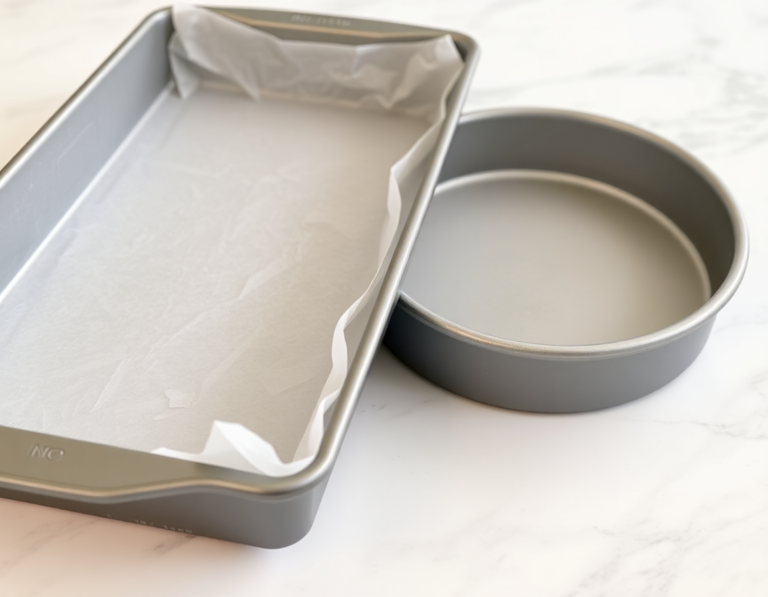
- Prepare two non-stick cake pans by lining them with wax paper. Preheat your oven to 350°F.
- Separate the egg whites from the yolks. In a medium bowl, whisk the yolks with sugar and vanilla, then incorporate the flour until smooth.
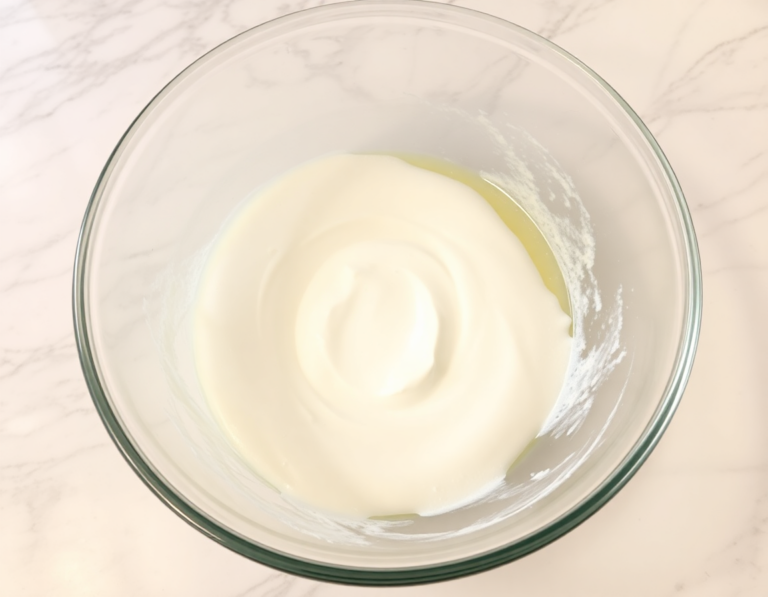
- In a large bowl, beat the egg whites at high speed until they become foamy and increase to three or four times their volume, which takes about 2-3 minutes.
- Carefully fold the yolk mixture into the beaten egg whites using a spatula. Mix gently to maintain the fluffy consistency of the batter.
- Evenly distribute the batter between the two prepared cake pans. Bake them for 20-25 minutes until the tops turn golden brown.
- Once baked, immediately turn the cakes out onto a clean surface and remove the wax paper while still warm. Allow them to cool to room temperature.
- Trim any rough edges from the cakes, break the trimmings into small pieces, and bake until golden. Once cooled, crumble them and set aside for decoration.
- Combine all syrup ingredients and stir until the sugar dissolves completely.
- Place the first cake layer upside-down on a serving dish. Pour half of the syrup evenly over it and let it absorb.
- Frost the top of the first cake layer with your choice of frosting. Repeat the syrup and frosting process with the second cake layer.
- Cover the top and sides of the cake with frosting. Use the reserved crumbs to decorate the cake by sprinkling them over the frosting.
- Keep the cake refrigerated until ready to serve. It remains delicious for several days when stored in the fridge.
Ingredients
- 1 1/4 cups all-purpose flour
- 10 eggs
- 1 cup sugar
- 1 teaspoon vanilla extract
- 3/4 cup water
- 3/4 cup red wine (e.g., St. Chapelle Soft Red)
- 1/4 cup sugar
- 1 tablespoon lemon juice
FAQ
- What is Biskvit?
- Biskvit is a traditional Russian sponge cake known for its moist texture. It’s made using simple ingredients like eggs, sugar, and flour, and is often layered with a syrup and frosting.
- What ingredients are needed for the Biskvit cake?
- You’ll need all-purpose flour, eggs, sugar, and vanilla for the cake. The syrup requires water, red wine, sugar, and lemon juice. A separate frosting recipe can be used for layering.
- How do you prepare the cake pans for baking Biskvit?
- Line two non-stick cake pans with wax paper to prevent sticking, and preheat your oven to 350°F before starting the mixing process.
- What is the key to achieving the right texture for the cake batter?
- The key is to beat the egg whites on high speed until they increase 3-4 times in volume, ensuring they are foamy but not too stiff. Gently fold the yolk mixture into the egg whites to maintain the batter’s fluffy texture without losing volume.
- How should the syrup be applied to the cake layers?
- Pour half of the syrup evenly over the first cake layer, allowing time for the cake to soak it in before frosting. Repeat the process with the second layer.
- How should the finished cake be stored?
- Once assembled and frosted, the cake should be refrigerated until serving. It retains its delicious taste for several days when stored in the fridge.
Tips
- When separating the egg whites from the yolks, ensure no yolk gets into the whites to help them whip up properly into a fluffy texture.
- Be cautious not to overbeat the egg whites; stop once they have tripled in volume to avoid them becoming too stiff to mix well with the yolk mixture.
- After baking, remove the cake from the pan while it’s still warm to make it easier to peel off the wax paper without damaging the cake.
- Use a large knife to guide crumbs onto the sides of the frosted cake, which helps ensure more crumbs stick to the cake for an even coating.

I’m Heather, the founder of Hearty Home Bites, a place where I share my love for delicious, approachable recipes and the joy of gathering around the table. What started as a personal project quickly grew into a trusted resource for home cooks everywhere.