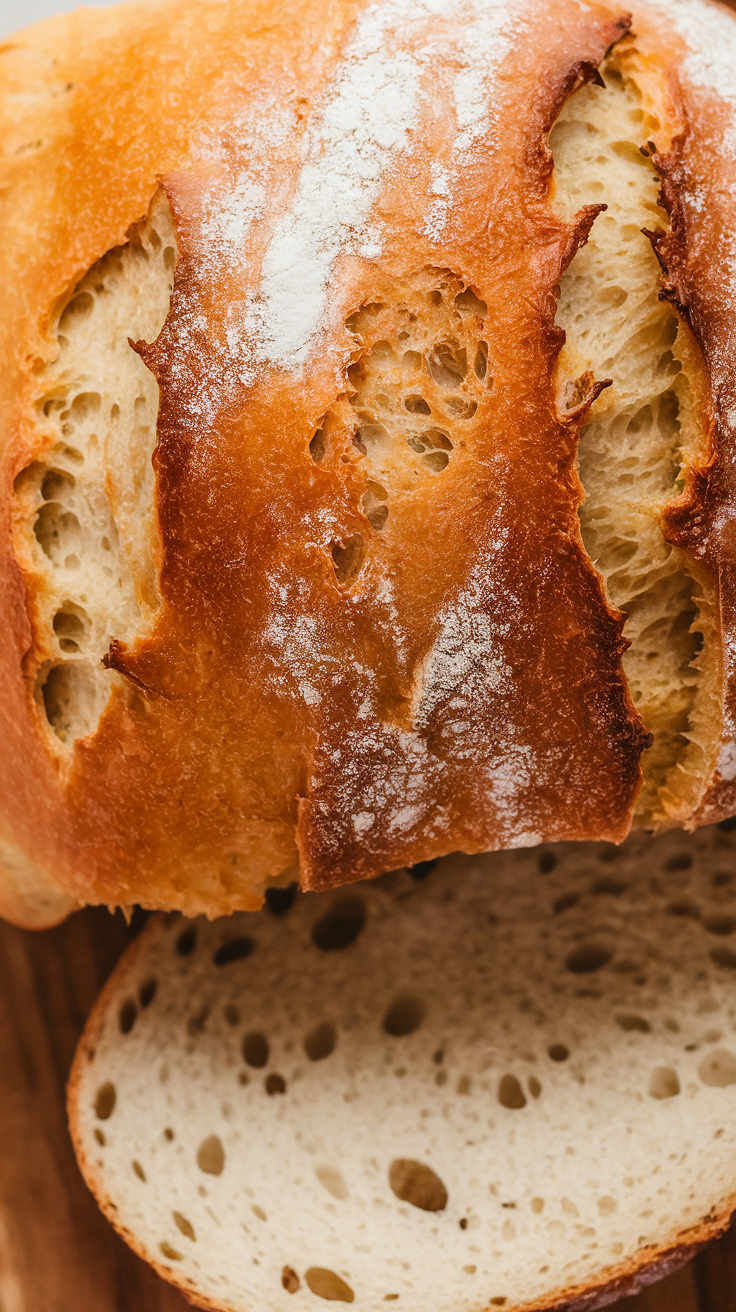
Bread has always held a special place in my heart, a staple that somehow manages to evoke nostalgia and comfort—the way a warm hug does on a chilly evening. This no-knead artisan bread, with its crispy crust and soft, airy center, is like a symphony of textures playing out in perfect harmony. It’s as if the universe decided to give us a break from life’s chaos with this impossibly easy recipe, a true blessing for those who, like me, find solace in the scent of freshly baked bread wafting through the home.
Steps
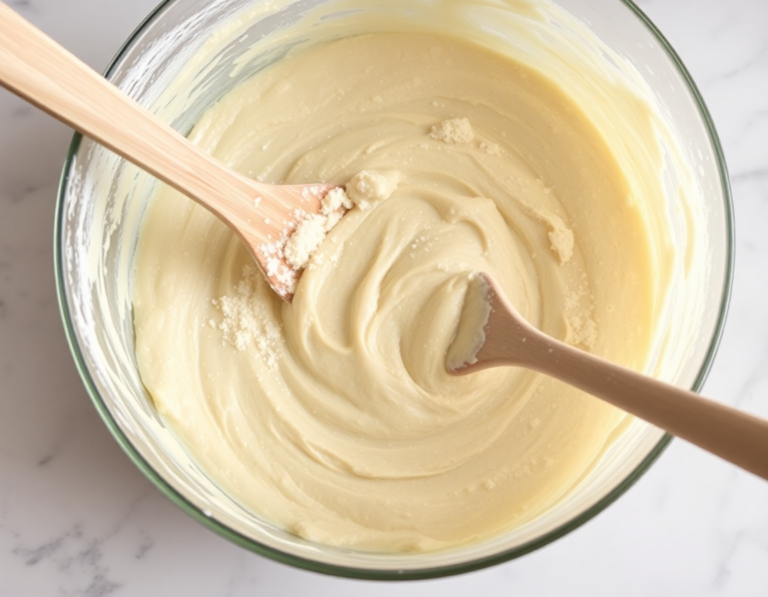
- Prepare the Dough: Combine the flour, yeast, and salt in a large bowl. Add warm water and stir with a wooden spoon handle until all ingredients are mixed. The dough will be sticky and wet, which is the desired consistency.
- Let it Rise: Cover the bowl with cling wrap and leave in a warm area for 2 hours, allowing the dough to double in size. If you prefer enhanced flavor, refrigerate the dough for 8 hours to 3 days.
- Preheat the Oven and Pot: Thirty minutes before baking, place a dutch oven with its lid in the oven and preheat to 230°C (450°F). This step is crucial for creating a steamy environment.
- Shape the Dough: Scrape the dough onto a floured surface. Use a dough scraper to fold the sides inward, forming a rough round shape without kneading.
- Transfer and Shape: Slide parchment paper next to the dough, then flip it onto the paper, smooth side up. Push it into a round or oval shape; perfection isn’t necessary as rustic is preferred.
- Prepare for Baking: Remove the hot pot from the oven, place the dough inside using the paper, and cover with the lid. This method is suitable even without a dutch oven by using hot water in a pan to create steam.
- Bake the Bread: Bake for 30 minutes with the lid on to allow the bread to rise, then remove the lid and bake for an additional 12 minutes to brown and crisp the crust. Let the bread cool for 10 minutes before slicing to ensure the center is fully cooked.
Ingredients
- 3 cups (450g) bread flour or all-purpose/plain flour
- 2 teaspoons instant or rapid rise yeast
- 2 teaspoons cooking/kosher salt (not table salt)
- 1 1/2 cups (375 ml) very warm tap water (not boiling, up to 55°C/130°F)
- 1 1/2 tablespoons flour for dusting (for shaping the dough)
Nutritional Values
Calories: 1550cal | Carbohydrates: 320g | Protein: 50g | Fat: 10g | Saturated Fat: 10g | Sodium: 4690mg | Potassium: 650mg | Fiber: 20g | Sugar: 10g | Calcium: 70mg | Iron: 20mg
FAQ
- Can I use regular flour instead of bread flour?
- Yes, you can use regular all-purpose flour instead of bread flour. While bread flour has a higher protein content that gives the bread a chewy texture and helps create larger air pockets, the recipe still works well with regular flour, though the texture may be slightly different.
- What if I don’t have a Dutch oven?
- If you don’t have a Dutch oven, you can bake the bread on a tray. To mimic the steam environment of a Dutch oven, place a pan of hot water in the oven while baking. This will help the bread rise properly and create a nice crust.
- Can I use normal yeast instead of instant yeast?
- Yes, you can use active dry yeast in place of instant yeast. Just dissolve the active dry yeast in water first before adding the flour and salt, and proceed with the rest of the recipe as instructed.
- Why is the dough so wet and sticky?
- The dough is intentionally wet and sticky because it doesn’t require kneading. This consistency helps the dough rise more easily and contributes to the creation of large air pockets, resulting in a light and airy bread.
- How can I improve the flavor of the bread?
- To enhance the flavor, you can refrigerate the dough for at least 8 hours, up to 3 days. This slow fermentation process allows the yeast to transform starches into sugars, giving the bread a deeper, more complex flavor.
Tips
- Use Bread Flour for Best Texture: Opt for bread flour instead of all-purpose flour to achieve a more elastic dough, which results in a fluffier and chewier bread with larger air pockets.
- Experiment with Refrigeration for Flavor: Allow the dough to rest in the refrigerator for a minimum of 8 hours up to 3 days. This slow fermentation enhances the flavor significantly, making the bread taste richer.
- Create Steam for Crusty Bread Without a Dutch Oven: If you don’t have a Dutch oven, replicate the steam effect by placing a pan of hot water in the oven while baking the bread on a tray. This helps develop a crispy crust.
- Ensure Proper Dough Consistency: Adjust the dough with a bit of water if it’s too dry or a little flour if it’s too wet. The dough should be wet and sticky, which contributes to a light, airy crumb.
Equipment
- Dutch Oven (Cast Iron Pot) – This is ideal for creating the steam effect needed for the bread to rise properly. However, it’s noted that you can bake the bread on a tray with a pan of water in the oven as an alternative.
- Dough Scraper – Useful for handling and shaping the wet and sticky dough without needing to touch it directly.
- Parchment/Baking Paper – Necessary for transferring and baking the dough.